Add vehicle from LTGST mobile app
Vehicles can be added from the mobile application. To add vehicles, consider the following steps.
To get started
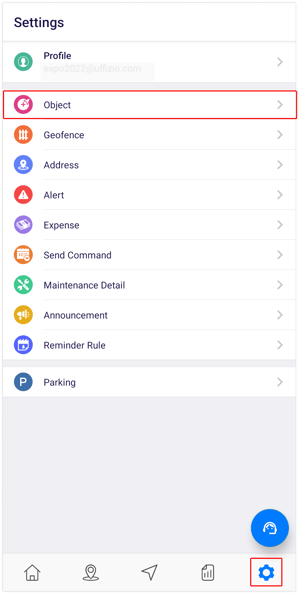
The screen user lands on is the object overview screen where the user can have a look at all the object records.
To add vehicle
- Click on
 icon on the top right corner of the screen.
- Click on Add.
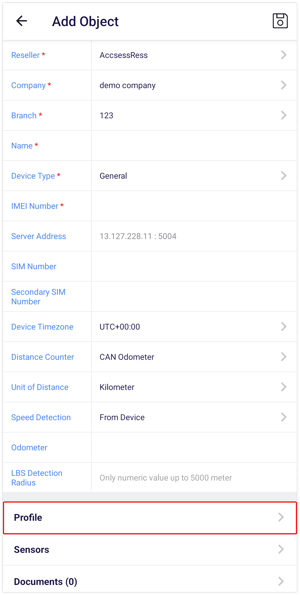
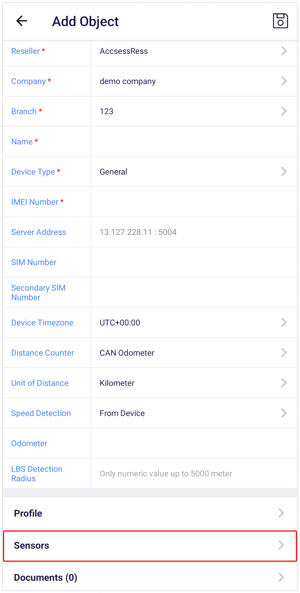
- Select the Reseller from the list.
- Select the Company from the list
- Select the Branch from the list.
- Enter the Name of the object.
.png?width=350&height=655&name=Frame%201104%20(1).png)
- Select the GPS device from the Device Type.
- Enter the IMEI number of the device selected.
- The system will provide the Server Address as the user selects the integrated device.
- Enter the SIM Number
- Enter the Secondary SIM Number.
- Device Timezone should be added as per the timezone configured on the device.
- Select the Distance Counter from the list.
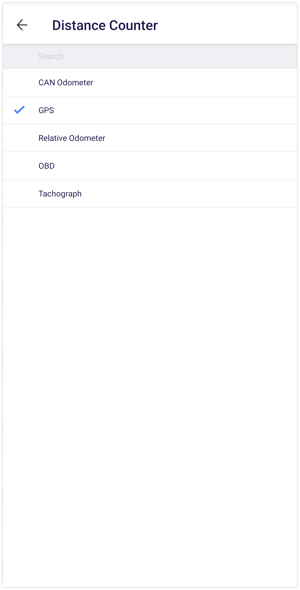
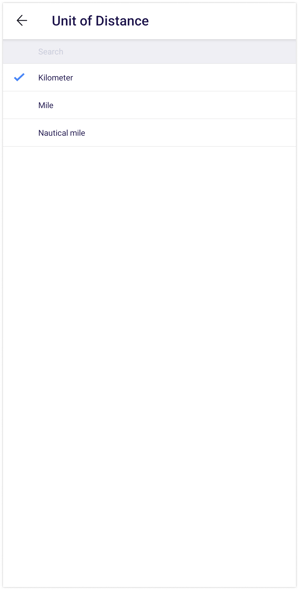
- Select the Unit of Distance from the list.
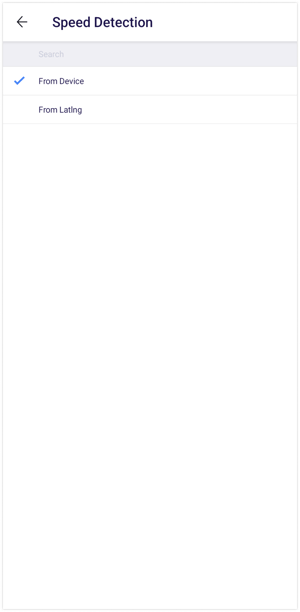
- Select the Speed Detection source from the list.
- Enter the Odometer reading.
- Enter the LBS Detection Radius.
The LBS Detection Radius will be a numeric value valid upto 5000 meters.
Go to Profile
- Click on Profile.
- Enter the Plate Number of the object.

- Select the Object Type.
- Select the Manufacture Date from the date picker.
- Select the Purchase Date from the date picker.
- Select the Installation Date from the date picker.
- Enter the Registration Number of the object.
- Select the Fuel Type from the list.

- Click on
 if it is going to be Distance based Fuel Consumption and enter the values.
 - Click on
 if it is going to be Duration based Fuel Consumption and enter the values.
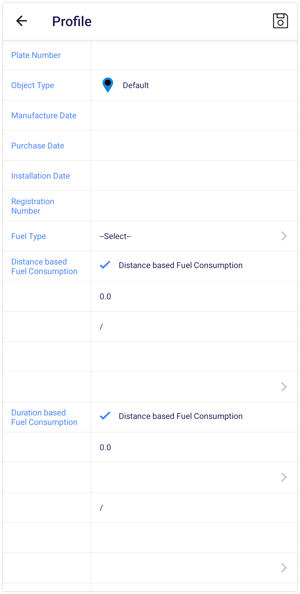
- Enter the VIN Number.
- Enter the Engine Number.
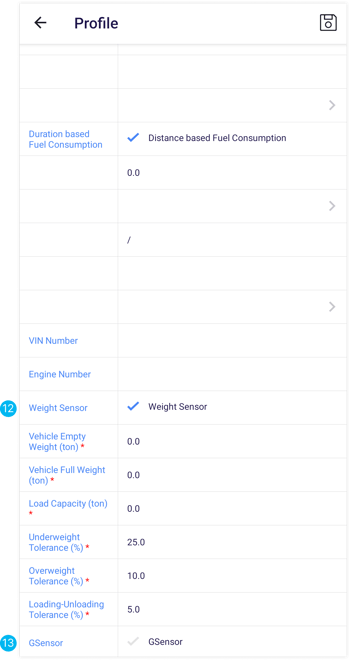
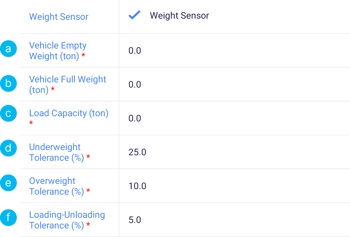
- Click on
 if there is Weight Sensor and enter the values.
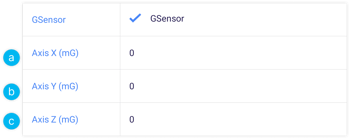
- Click on
 if there is GSensor and enter the values.
- Click on the Save icon
 .
.
Go to Sensors
- Click on
 to activate the port of the corresponding sensor.
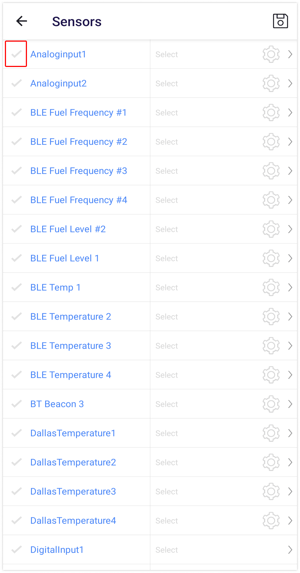
- Click on Select to select the connected sensor.

- Select the sensor.
- Click on
 for calibration.
- Do the calibration.
- Click on the Save
 icon.
icon.
- Click on the Save
 icon.
icon.
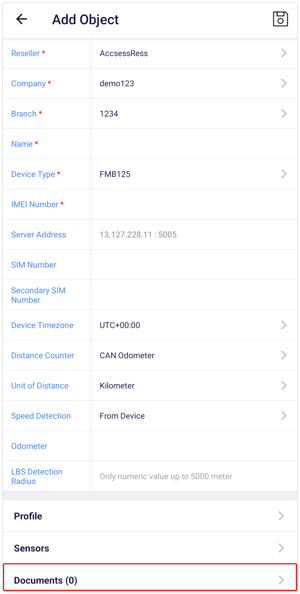
Go to Documents
- Click on ➕ icon to upload documents.
- Select Document Type from the list.
- Enter the Document Name.
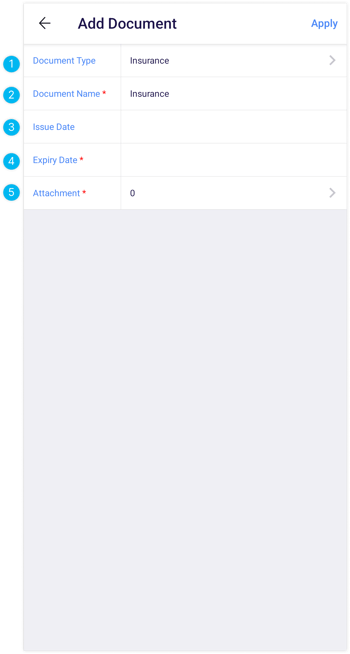
- Select the Issue Date from the date picker.
- Select the Expiry Date from the date picker.
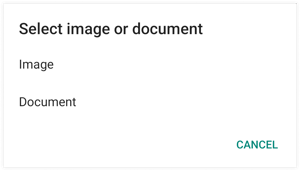
- Click on > to upload Attachment.
- Click on Apply

- Click on the Save
 icon.
icon.
webmaster Changed status to publish February 12, 2024

.png?width=300&height=593&name=Frame%201098%20(1).png)
