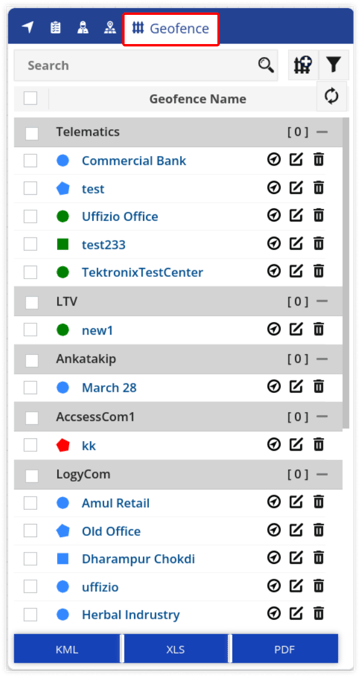
Geofence tab on live tracking screen
On the left side of the screen, we have a listing window, which displays the geofence details in one place.
To view the geofence tab, go to Listing Panel > Geofence tab.
It consists of the following features and details:
Search/Add Geofence
From here a user can perform actions on the geofences.
Below given are the actions that can be performed:
- Search Box: Using search box, user can easily search the specific geofences.
- Add Geofence: By clicking on Add Geofence, user can add geofence directly from the Live Tracking Screen.Learn more about geofence configuration.
- Filter: User can filter geofence information on the basis of geofence group or category using the Filter option.
Geofence Information
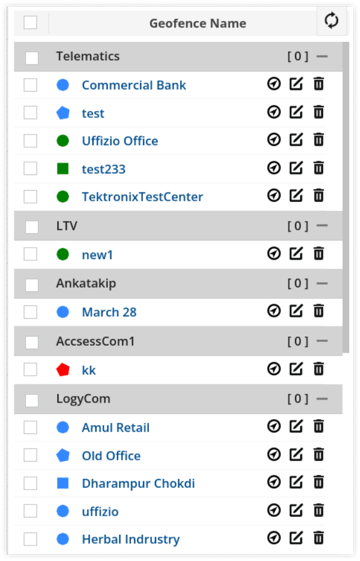
All the geofence information can be viewed here in one place.
Following is the type of information that can be viewed in the geofence information list:
- Select/Unselect all geofences: By clicking on the checkbox, a user can select or unselect all the geofences at once.
- Geofence Shape:
 |
Polygon |
.png?width=67&height=67&name=square%20(1).png) |
Square |
 |
Circle |
- Geofence Navigator: By clicking on the navigator icon, the list of vehicles that are in the selected geofence, along with their vehicle status is displayed.
- Edit Geofence: User can edit the geofence details by clicking on the Edit icon.
- Delete Geofence: User can delete the geofence by clicking on the the Delete icon.
Download Geofence Information
All the geofence information can be downloaded in KML, XLS format or in PDF format.
webmaster Changed status to publish February 12, 2024


